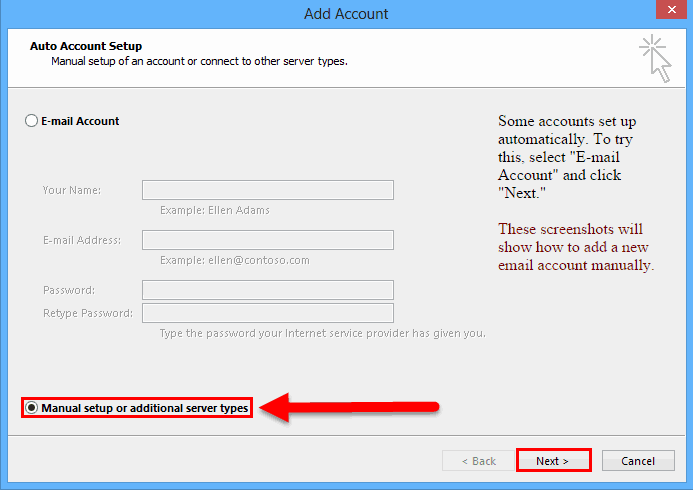
Click the bubble next to “Manually setup or additional server types” and click “Next”.
Step 4.
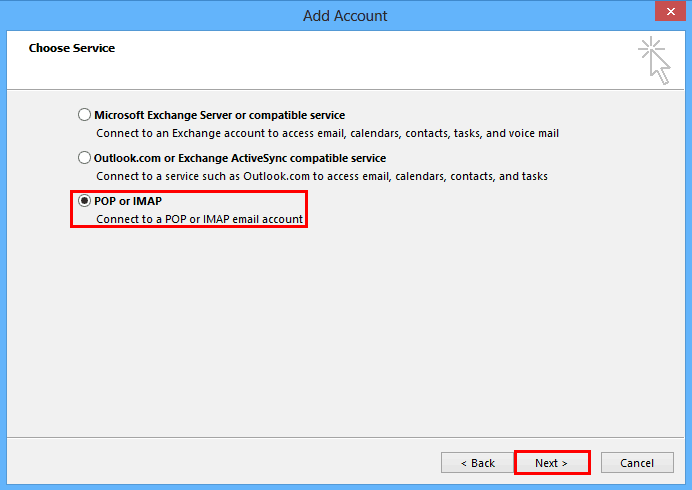
Click the bubble next to “POP or IMAP” and click “Next”.
Step 5.
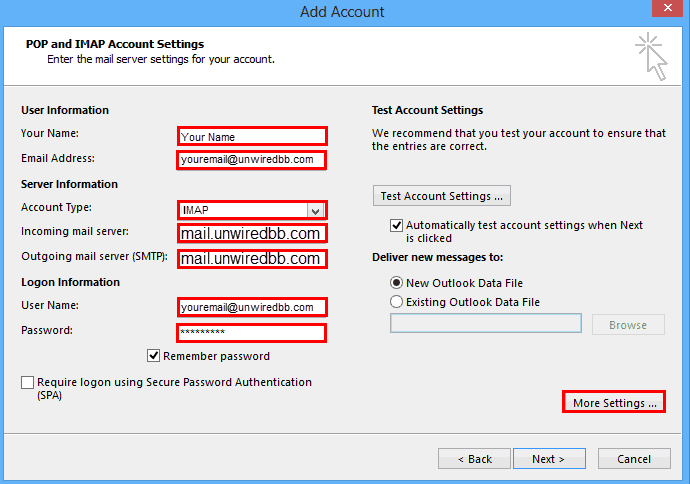
In the “Your Name” box enter your name. In the “E-mail Address” box enter your e-mail address. Make sure that the “Account Type” drop down box has “IMAP” selected. In the “Incoming mail server” box enter “mail.unwiredbb.com”. In the “Outgoing mail server (SMTP)” box enter “mail.unwiredbb.com”. (If we are hosting e-mail for your domain you may replace mail.unwiredbb.com with mail.yourdomain.com) In the “User Name” box fill in your full e-mail address. For example: (user@cvip.net) Password” box enter your password. You may optionally check the box next to “Remember password” if you do not want to be asked for your password each time you check your mail. Click “More Settings”.
Step 6.
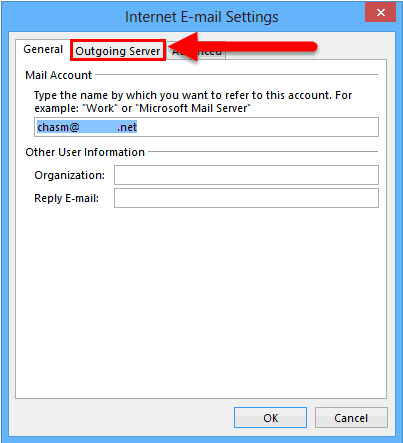
Select the “Outgoing Server” tab.
Step 7.
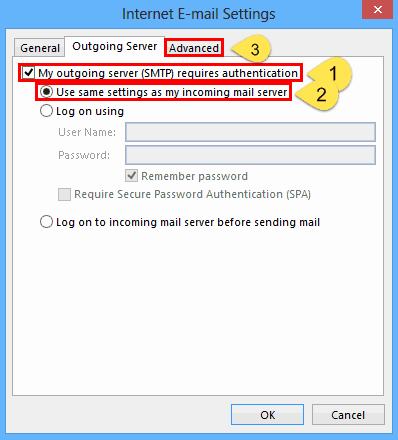
Check the box next to “My outgoing server (SMTP) requires authentication” (1). Select the bubble next to “Use same settings as my incoming mail server” (2). Click “Advanced” tab (3).
Step 8.
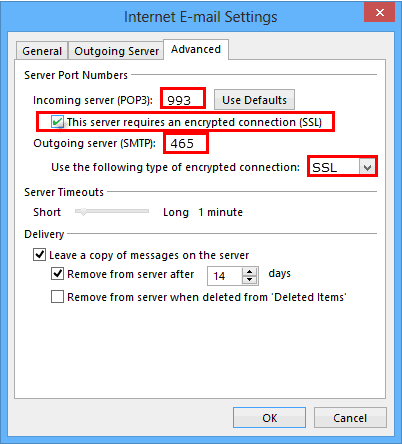
Set “Incoming server (POP3)” to 993. Check the box for “This server requires an encrypted connection (SSL)”Set “Outgoing server (SMTP)” to 465. Click “OK”.
Step 9.
Click on “Next”.
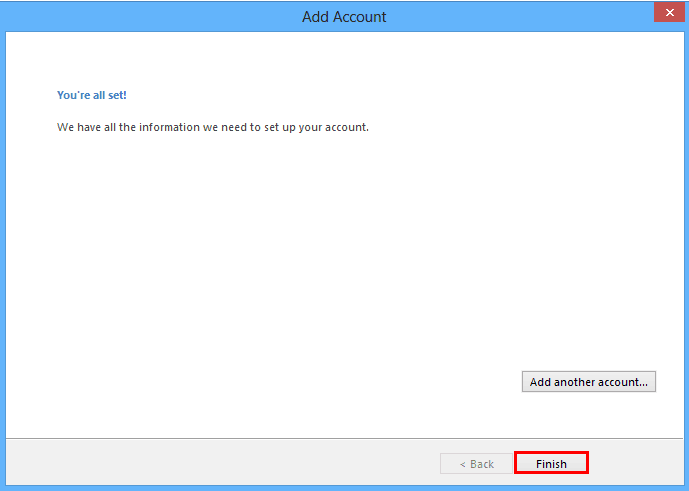
Step 10.
Click “Finish”. Microsoft Outlook 2013-2016 is now configured to send and receive mail with your unWired Broadband mail account.
If you have any questions regarding the contents of this guide please contact unWired Broadband Technical Support.